
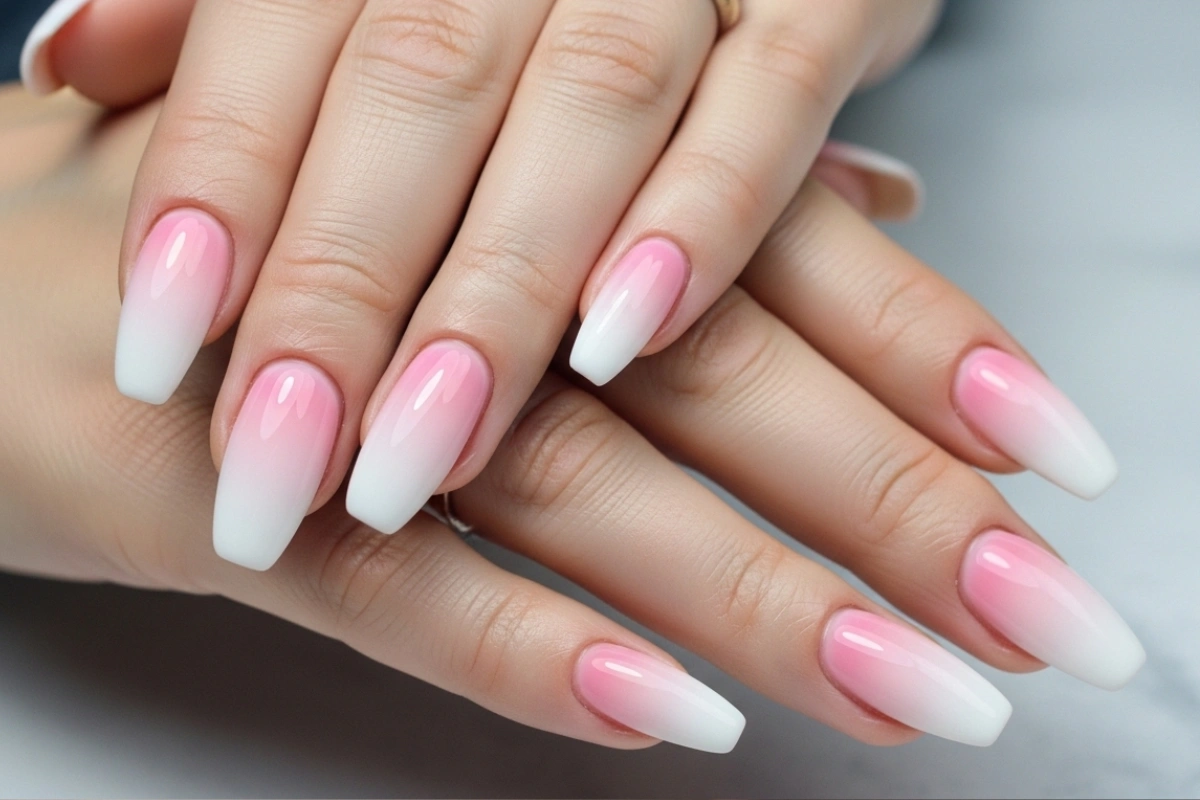
Gradient Glam Guide: How to Do Ombre Nails Like a Pro

Ombre nails remain one of the most versatile and trendy nail designs today. Learning how to do ombre nails transforms plain manicures into smooth, gradient masterpieces. This guide explores step-by-step techniques, color blending, and design tips suitable for beginners and professionals. From subtle pastels to bold, dramatic gradients, discover creative ways to achieve flawless ombre nails at home or in the salon.
Understanding Ombre Nail Basics

Ombre nails blend two or more colors seamlessly. The gradient effect flows from light to dark or vice versa. Learning how to do ombre nails begins with understanding color transitions. Soft blending ensures the effect looks natural. Short nails can handle subtle ombre. Long nails showcase dramatic gradients. Gloss topcoats enhance smoothness. Matte finishes offer alternative texture. Clean cuticles frame the gradient. Even polish layers prevent streaking. Small sponges are often used for application. The basic concept is all about seamless color blending.
Essential Tools for Ombre Nails
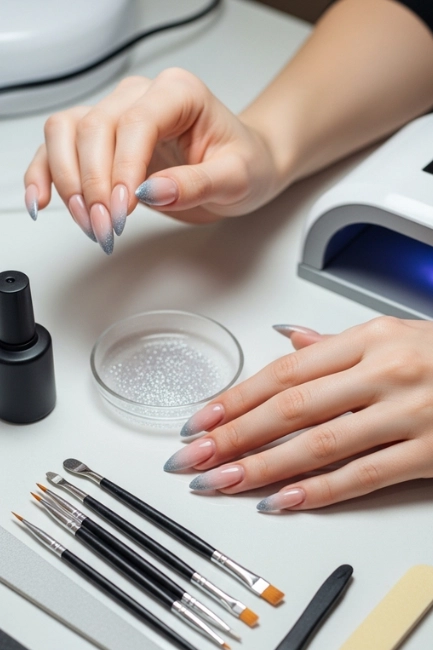
Sponges are essential for ombre blending. Brushes help refine details. Nail polish colors should be selected carefully. Base coats protect natural nails. Topcoats seal the gradient. Tape or liquid latex keeps skin clean. Nail files shape the nails before application. Cuticle pushers ensure polish doesn’t stain the cuticle. Nail buffers smooth the surface. Even blending requires clean tools. Cotton pads and acetone remove excess polish. Having all tools ready makes how to do nails easier and precise.
Choosing the Perfect Color Palette
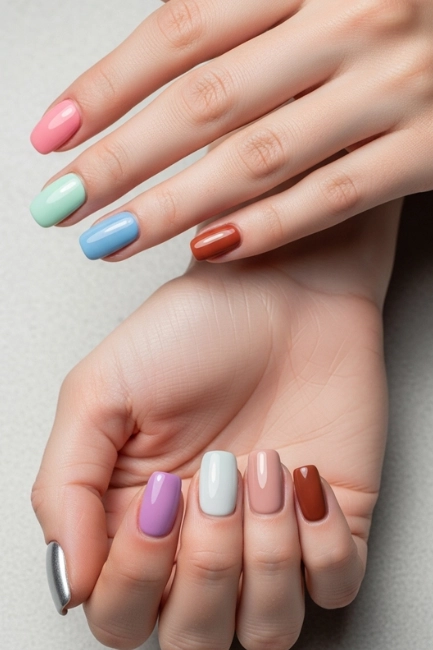
Selecting colors is crucial for a seamless gradient. Pastels create soft ombre nails. Bright tones create bold statements. Neutral shades suit everyday wear. Complementary colors enhance contrast. Analogous shades blend smoothly. Darker shades at the tips elongate nails visually. Lighter tips appear fresh and airy. Glitter or metallic polish adds sparkle. Ombre works with monochrome shades too. Matte colors create soft transitions. Choosing the right palette is the first step in learning how to do ombre nails.
Prepping Your Nails

Clean nails prevent streaky ombre. Shape nails using a file. Push back cuticles for clean edges. Buff the surface lightly. Remove oils with alcohol or cleanser. Apply a base coat. Let it dry completely. Even nails allow smooth gradients. Small imperfections can affect blending. Proper prep makes polish adhere longer. Prepping nails also prevents chipping. Clean, prepared nails are essential for how to do ombre nails successfully.
Applying the Base Color

Start with a light base color. Apply one or two coats evenly. Allow each layer to dry. Matte base can work too. The base ensures smooth blending with darker shades. Light bases make darker ombre stand out. Gloss enhances color vibrancy. Avoid thick layers to prevent bubbles. Base color sets the foundation. Even coverage prevents streaking. Prepped nails maintain polish longevity. A strong base is essential for how to do ombre nails properly.
Sponging Technique Introduction
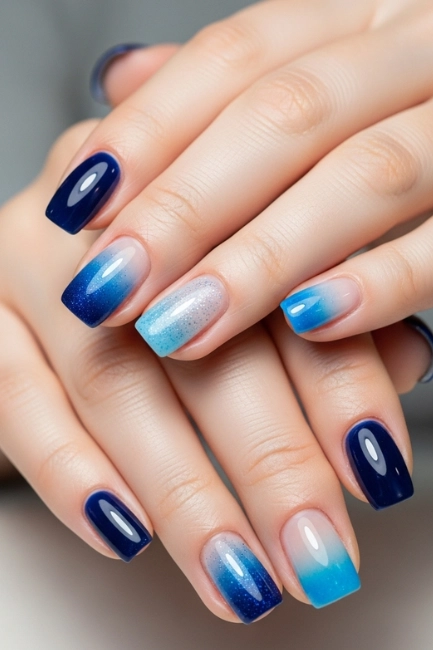
The sponge creates the gradient effect. Use a small makeup sponge or nail art sponge. Dab polish on the sponge. Apply in layers over the nail. Blend from base to tip. Move gently to prevent harsh lines. Repeat for opacity. Dry between layers to prevent smudging. Clean edges with acetone. Practice on paper before nails. Sponge technique is central to how to do ombre nails. Gradual blending creates professional results.
Layering Colors for Depth
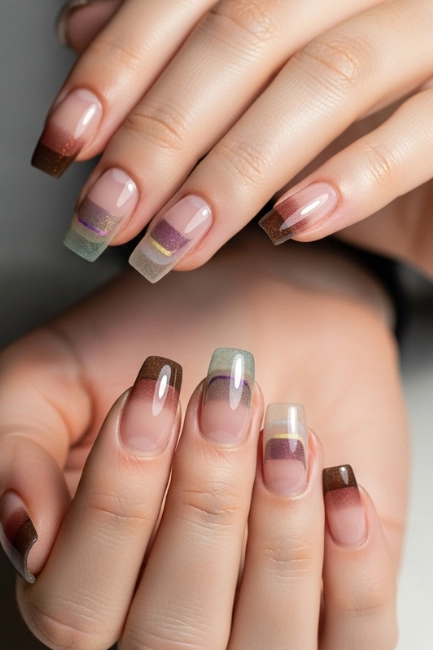
Layering colors builds a smooth gradient. Start with the lightest shade. Dab the darker shade gradually. Repeat sponging to intensify color. Thin layers prevent clumping. Let each layer dry slightly. Blend edges softly for a natural transition. Add shimmer or glitter if desired. Short nails require fewer layers. Almond shapes showcase longer gradients beautifully. Balanced layering enhances polish vibrancy. Proper layering is key to mastering how to do ombre nail designs.
Using Makeup Sponges
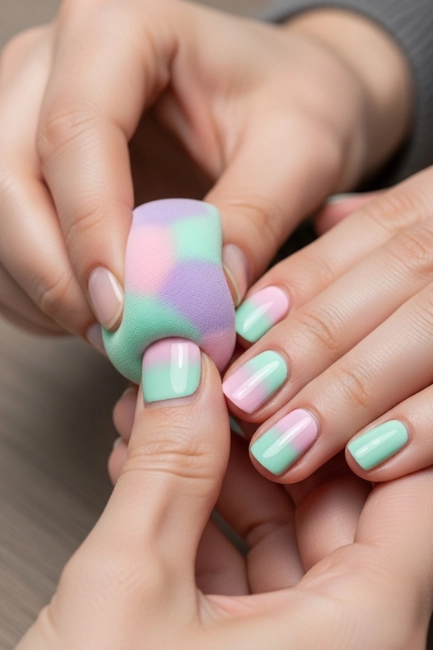
Makeup sponges create smooth, soft blends. Cut them to fit your nail size. Apply polish directly onto the sponge. Tap gently on the nail surface. Move vertically for tip-to-base ombre. Avoid dragging horizontally. Clean edges with acetone for precision. Short nails get subtle effects. Long nails allow dramatic transitions. Matte or gloss finish works over sponges. Even pressure prevents streaks. Sponges are central to learning how to do ombre nails effectively.
Blending with Brushes
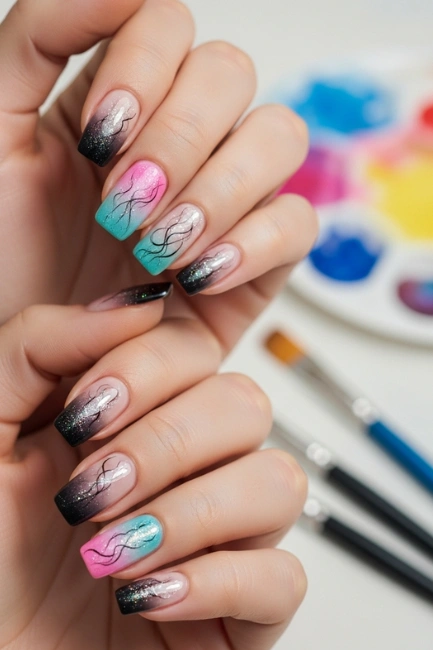
Fine brushes refine gradient edges. Use a thin nail art brush for precision. Drag polish lightly across sponge-applied colors. Blend small areas for seamless transition. Use a fan brush for soft finishing. Short strokes prevent harsh lines. Clean brush frequently to avoid clumps. Matte polish blends differently than gloss. Even tiny imperfections can be corrected. Brush blending complements sponge techniques. Balanced movement ensures smooth gradients. Mastering brushes is part of how to do ombre nails professionally.
Glitter Ombre Techniques
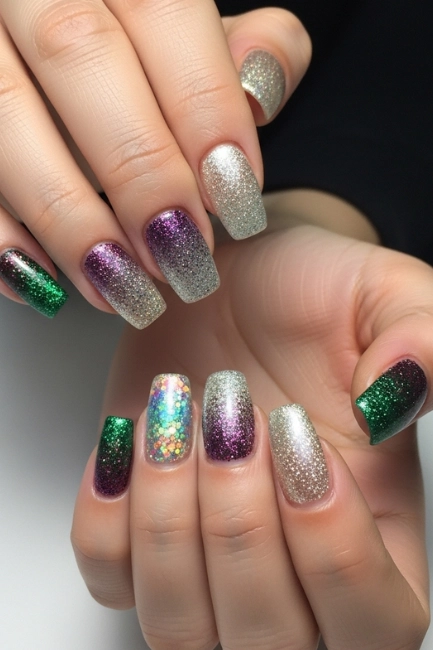
Glitter adds sparkle to ombre nails. Apply glitter on top of gradient gently. Concentrate shimmer at tips or base for effect. Gloss enhances glitter shine. Matte gradient needs thinner glitter layers. Sponge glitter for smooth blending. Clean edges prevent mess. Layer gradually to prevent bulkiness. Short nails showcase subtle shimmer. Long nails allow dramatic sparkle. Balanced glitter placement keeps elegance. Glitter creates festive ombre nails effortlessly.
Matte Ombre Finish

Matte finish softens vibrant colors. Matte topcoat changes glossy gradient to velvety texture. Apply thinly to avoid streaking. Let base polish dry completely. Short nails maintain subtlety. Almond nails elongate the effect. Matte works with light or dark shades. Clean edges enhance precision. Even coats prevent patchy finish. Matte ombre appears modern and sophisticated. Combine matte with glitter accent nails. Understanding matte application is key to how to do ombre nails.
Glossy Ombre Finish
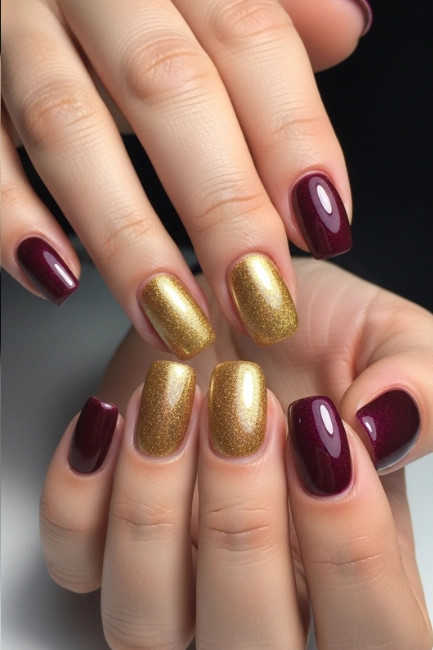
Gloss amplifies shine and vibrancy. Apply glossy topcoat evenly. Let sponge layers dry before coating. Almond nails enhance reflective effect. Gloss seals glitter or shimmer polish. Short nails keep look delicate. Even coats prevent bubbles. Clean cuticles for professional finish. Gloss works with any color combination. Layering enhances depth. Balanced shine creates polished look. Glossy ombre finish completes modern ombre nails beautifully.
Choosing Complementary Shades

Selecting complementary shades ensures smooth gradients. Light-to-dark or contrasting colors work well. Valentines or pastel tones are popular choices. Ombre can blend neutral shades too. Gloss enhances the color flow. Matte softens transitions. Short nails require subtle contrasts. Long nails allow bolder color transitions. Clean application prevents streaks. Even layering improves depth. Almond shapes enhance visual balance. Proper shade selection is essential for mastering how to do ombre nails.
Protecting Skin Around Nails
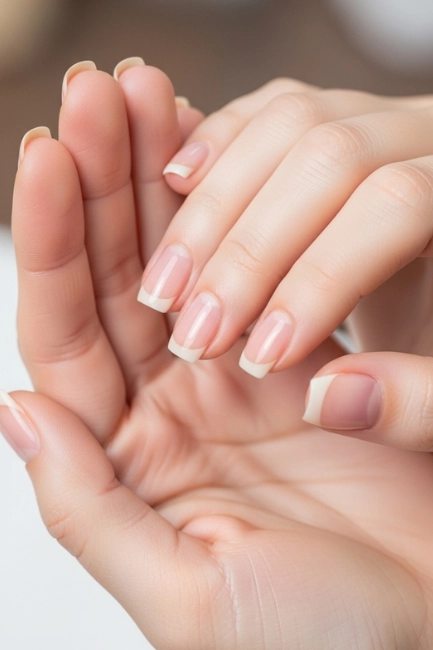
Protecting surrounding skin prevents polish stains. Apply tape or liquid latex around cuticles. Short nails require smaller coverage. Almond shapes need precise taping. Remove excess polish immediately. Use small brushes for correction. Clean with acetone if needed. Ensure tape doesn’t lift polish. Matte finishes may smudge easily. Gloss layers protect gradient. Even edges maintain polished look. Skin protection is a crucial step in how to do ombre nails.
Drying Techniques
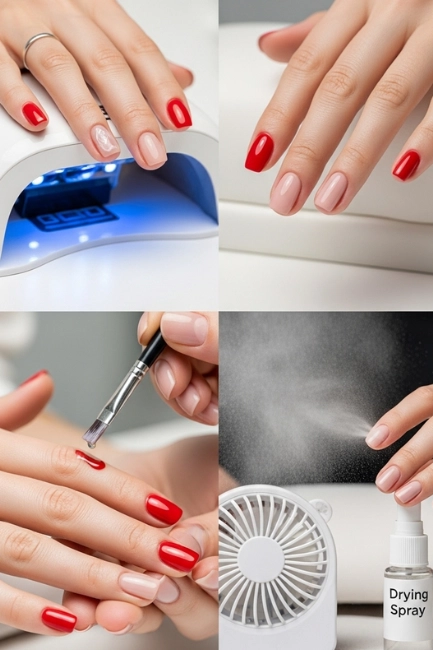
Drying polish prevents smudging. Use a fan or air-dry naturally. Short nails dry faster than long nails. Almond nails require careful handling. Matte polish dries slower. Gloss dries more quickly. Layering must be done after partial drying. Avoid touching surfaces until fully dry. Thin layers reduce drying time. Quick-dry sprays can help. Even drying preserves gradient integrity. Proper drying is key to how to do ombre nails professionally.
Correcting Mistakes
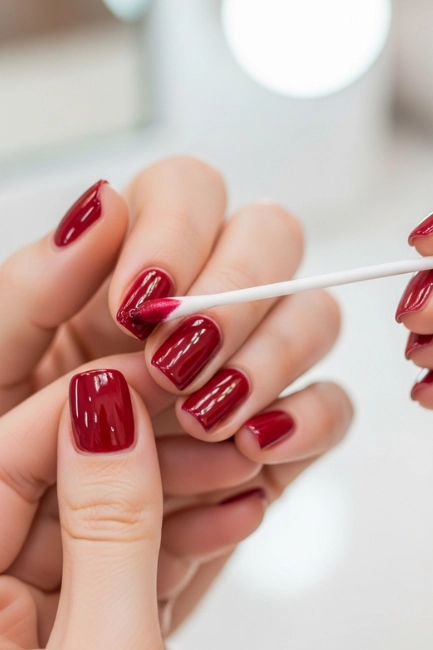
Mistakes are common when creating ombre nails. Use small brushes dipped in acetone to clean edges. Short nails allow easier touch-ups. Almond shapes may require precision. Matte finishes can be resanded lightly. Gloss may need additional topcoat. Remove smudges immediately. Even minor errors affect overall gradient. Layer again if needed. Balance polish thickness to maintain smooth effect. Patience ensures flawless results. Correcting mistakes is essential in learning how to do ombre nails.
Ombre on Short Nails

Short nails can handle subtle ombre effects beautifully. Light color transitions work best. Matte or gloss finishes complement shorter lengths. Use smaller sponges for precision. Thin polish layers prevent bulkiness. Almond-shaped short nails elongate fingers visually. Layer evenly for smooth gradient. Clean edges prevent messy look. Minimal glitter enhances elegance. Balanced shading keeps nails professional. Short nails are easier for beginners. Ombre on short nails demonstrates skill in subtlety.
Ombre on Almond Nails
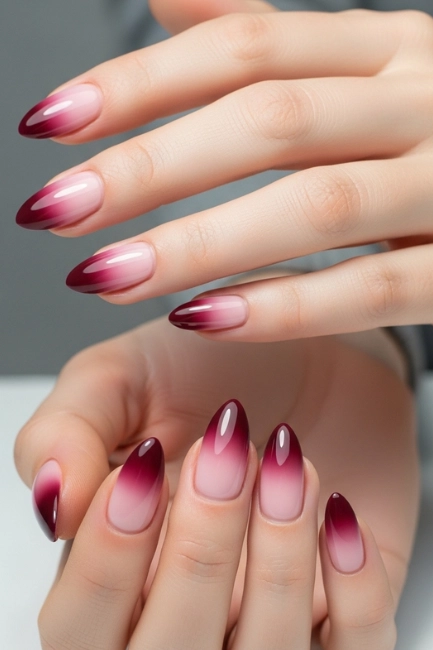
Almond nails enhance gradient appearance. Curved tips make color flow more visually appealing. Long almond nails allow dramatic ombre. Matte and gloss finishes both work. Layering carefully ensures smooth transition. Use sponge or brush techniques as needed. Clean cuticles highlight curves. Even polish application prevents streaks. Glitter or metallic accents work beautifully. Balanced placement prevents clutter. Almond nails are elegant and modern. Ombre on almond nails is versatile and stylish.
Using Two-Tone Gradients
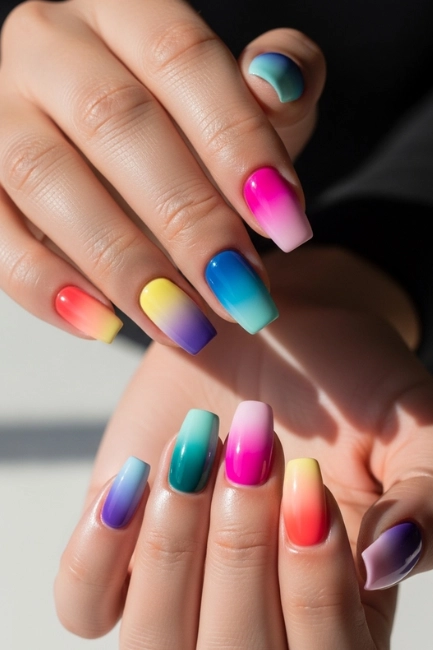
Two-tone ombre is simple and striking. Pick a light and a dark shade. Blend colors using a sponge or brush. Gloss enhances vibrancy. Matte softens intensity. Almond nails elongate the visual effect. Short nails keep subtle gradients refined. Even layers prevent streaks. Clean edges maintain polish precision. Minimal glitter accents add charm. Balanced colors avoid harsh contrast. Two-tone gradients are perfect for beginners learning how to do ombre nails.
Multi-Color Ombre

Multi-color ombre involves three or more shades. Gradually transition each color. Blend with sponges or brushes. Gloss intensifies depth. Matte creates soft layering. Almond nails show off smooth transitions beautifully. Short nails need careful spacing. Even layering prevents patchiness. Clean edges enhance professional appearance. Glitter accents highlight colors subtly. Balanced blending keeps gradient harmonious. Multi-color designs create dramatic and modern effects.
Glitter Ombre Tips

Focus glitter on nail tips for a sparkling gradient. Light base and glitter tip works well. Almond nails showcase the transition elegantly. Gloss locks glitter in place. Matte base allows subtle shimmer. Clean edges prevent mess. Layer gradually to build intensity. Short nails require minimal glitter for elegance. Even blending ensures smooth fade. Balanced sparkle prevents overwhelming effect. Glitter tips complement any color palette. This technique adds fun while learning how to do ombre nails.
Matte and Gloss Combo
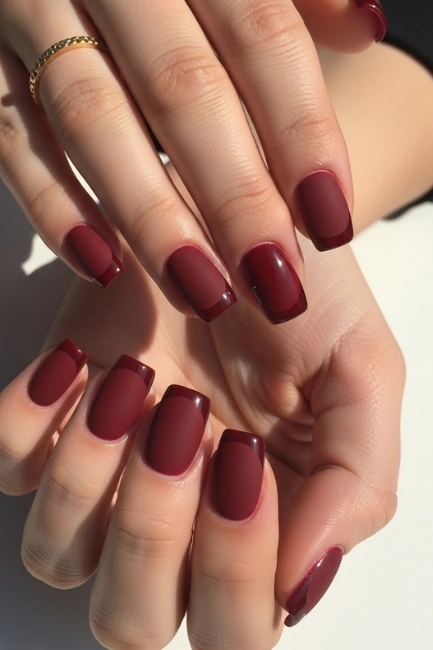
Combine matte and gloss for a dynamic effect. Matte base with glossy tips looks modern. Almond nails highlight the contrast beautifully. Even layers prevent streaking. Clean edges maintain precision. Glitter or metallic accents enhance design. Short nails work best with subtle contrast. Balanced placement avoids clutter. Matte softens bold colors. Gloss intensifies focal points. Layering correctly ensures smooth transition. This combo adds sophistication to ombre nails.
Adding Rhinestone Accents
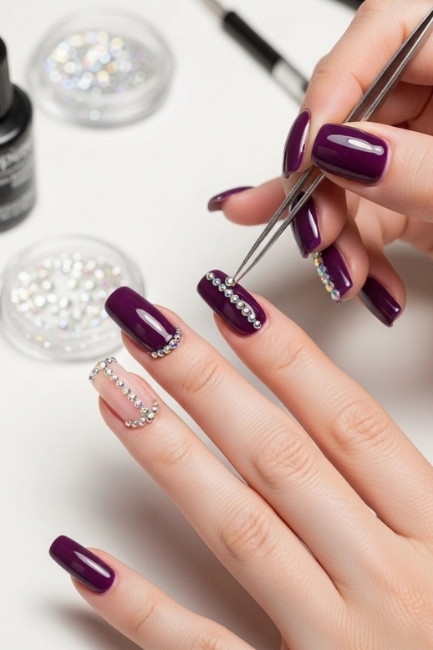
Rhinestones enhance ombre nails with sparkle. Place stones at the base or tip. Almond nails give elegant display. Short nails require minimal stones. Even adhesive application ensures longevity. Clean edges prevent mess. Gloss topcoat locks rhinestones in place. Matte finishes require glue adjustment. Balanced placement avoids overcrowding. Glitter complements stones for festive look. Rhinestones create focal points for ombre nails. Learning placement is key to how to do ombre nails effectively.
Gradient with Stamping
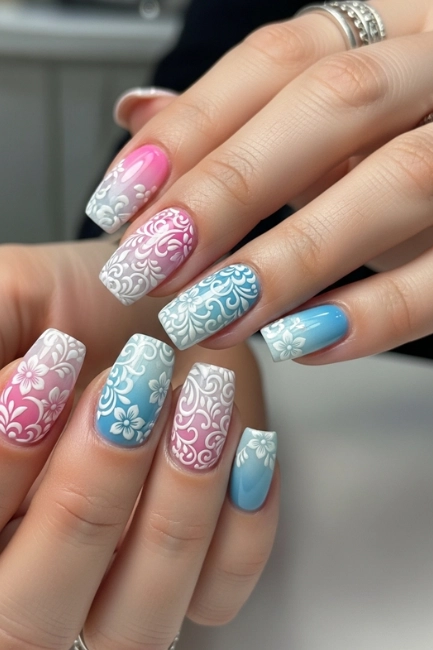
Nail stamping adds designs over gradients. Use soft pastel or neutral ombre as base. Apply stamped patterns carefully. Almond nails highlight intricate details. Gloss topcoat ensures pattern longevity. Matte background may require stronger stamping ink. Clean stamping plate prevents smudges. Short nails work for minimal patterns. Even pressure enhances design. Balanced placement keeps manicure elegant. Stamping combined with ombre looks artistic. This technique creates professional ombre nails at home.
French Ombre Twist
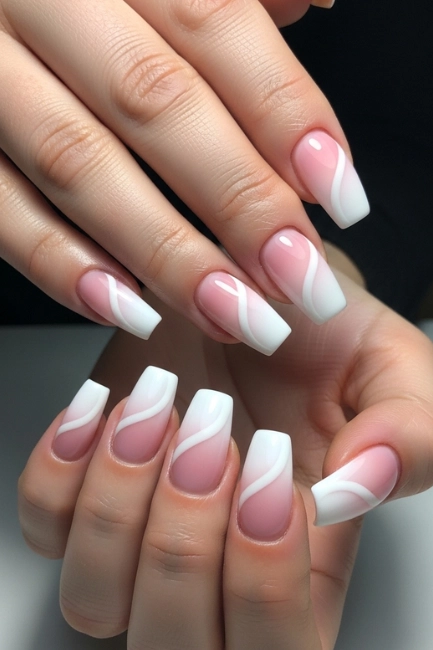
French ombre updates classic tips. Blend nude or light shades at the base with bright tips. Almond nails elongate fingers elegantly. Gloss enhances the tip’s shine. Matte bases create soft contrast. Clean lines define tip edges. Even layers prevent streaking. Glitter or metallic outlines add glam. Short nails keep French ombre subtle. Balanced placement avoids overcrowding. Minimalist designs suit everyday wear. Learning this is an essential step in how to do ombre nails.
Pastel Gradient Fun

Pastel ombre nails feel soft and dreamy. Blend pink, lavender, or mint for spring vibes. Gloss enhances pastel vibrancy. Matte softens edges for subtlety. Almond nails highlight smooth transitions. Short nails maintain delicate charm. Even coats prevent patchiness. Clean edges make the manicure professional. Tiny glitter adds festive sparkle. Balanced layering maintains elegance. Pastels are easy for beginners. This style feels playful yet modern.
Sunset Ombre
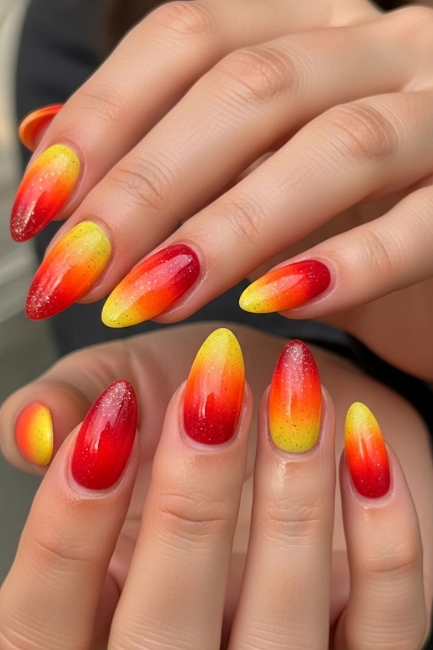
Sunset gradients blend yellow, orange, and red. Almond nails showcase flowing colors beautifully. Gloss enhances depth and shine. Matte adds soft texture. Short nails require fewer layers. Clean sponging ensures smooth transition. Even coats prevent streaks. Glitter can mimic glowing sun effects. Balanced color flow keeps manicure realistic. Sunset ombre evokes warmth and creativity. Layer carefully for professional results. Sunset gradients are a popular ombre variation.
Blue Ocean Ombre
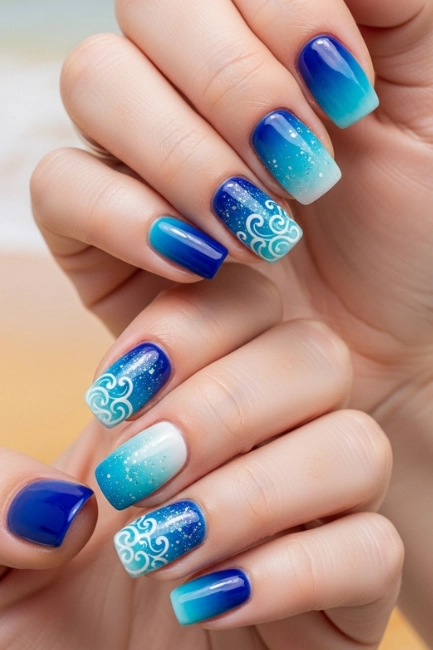
Blue ombre mimics sea gradients. Blend light aqua to deep navy. Almond nails elongate color flow. Gloss intensifies color vibrancy. Matte creates subtle depth. Short nails require gentle blending. Clean sponging ensures smooth gradient. Even layers enhance intensity. Glitter or shimmer mimics sparkling water. Balanced transitions prevent harsh edges. Blue ombre suits summer nail looks. This style remains fresh and modern.
Neon Gradient Pop
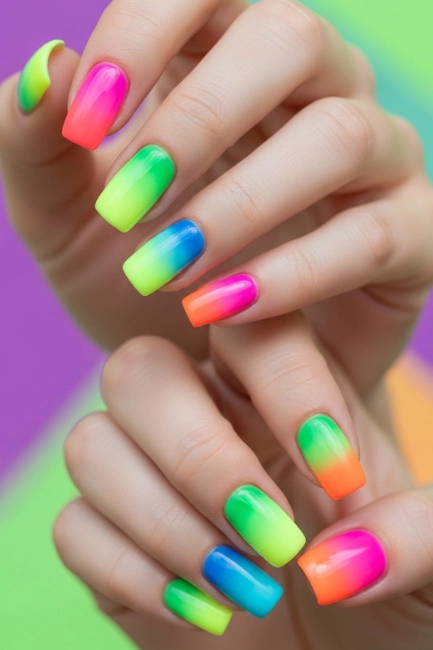
Neon ombre makes bold statements. Blend bright shades like pink, orange, or green. Almond nails accentuate vibrant transitions. Gloss enhances neon brightness. Matte tones soften intensity slightly. Short nails prevent overwhelming visuals. Clean edges maintain precision. Even layering ensures smooth gradient. Glitter adds extra sparkle. Balanced contrast keeps manicure chic. Neon ombre is fun and trendy. Learning neon gradients is essential for advanced ombre skills.
Galaxy Ombre

Galaxy ombre combines dark blues, purples, and black. Blend colors for cosmic depth. Almond nails highlight flowing galaxy patterns. Gloss enhances star-like shine. Matte softens intense tones. Short nails show subtle galaxy touches. Even layering prevents harsh streaks. Glitter mimics stars. Clean edges maintain polish precision. Balanced colors create dreamy effect. Layering carefully creates professional results. Galaxy ombre looks futuristic and artistic.
Pastel Rainbow Ombre

Pastel rainbow blends soft multiple shades. Light pink, yellow, green, blue, and purple transition seamlessly. Almond nails elongate soft color flow. Gloss enhances shine. Matte creates velvety effect. Short nails keep colors subtle. Clean blending prevents patchiness. Even layers ensure smooth gradient. Glitter highlights color edges subtly. Balanced placement prevents visual clutter. Pastel rainbow ombre feels cheerful and fresh. This style is modern and playful.
Black and White Gradient

Black to white gradient creates dramatic contrast. Almond nails enhance elegant color flow. Gloss adds depth and shine. Matte softens stark contrast. Short nails work well for minimal bold ombre. Clean blending ensures smooth transition. Even layers prevent patchiness. Glitter or shimmer highlights focal points. Balanced shading maintains sophistication. The manicure looks modern and striking. Learning contrast gradients is important for mastering how to do ombre nails. Black and white ombre is timeless and versatile.
Conclusion
Learning how to do ombre nails opens endless creative possibilities. From soft pastels to bold neon, ombre gradients enhance almond and short nail shapes beautifully. Sponges, brushes, and proper layering are essential for seamless blending. Gloss finishes intensify vibrancy, while matte finishes create soft sophistication. Glitter, rhinestones, or stamping add unique accents to personalize every design. Correct preparation, including clean cuticles and even base coats, ensures professional results. Short nails are subtle and elegant, while almond shapes display dramatic color transitions. Practice with two-tone, multi-color, or pastel gradients builds confidence.


