
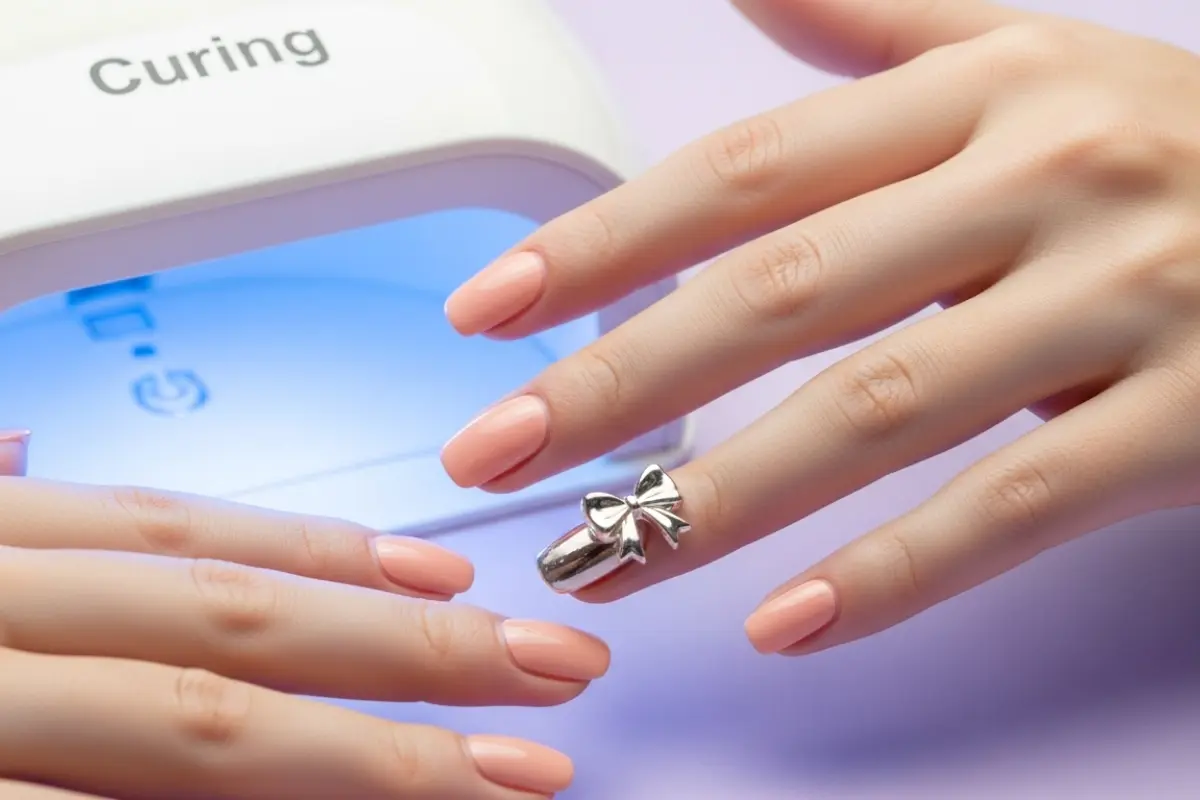
How to Apply 3D Nail Charms: A Beginner-Friendly Guide
If you’ve ever admired bold nail looks with sparkling gems, bows, or tiny charms, you might wonder how to apply 3D nail charms at home. The good news is—it’s much easier than it looks! With the right tools and simple techniques, you can create a stunning manicure that looks like it came straight from a salon. Here’s your ultimate step-by-step guide to mastering the art of 3D nail charm application.
Gather Your Nail Supplies
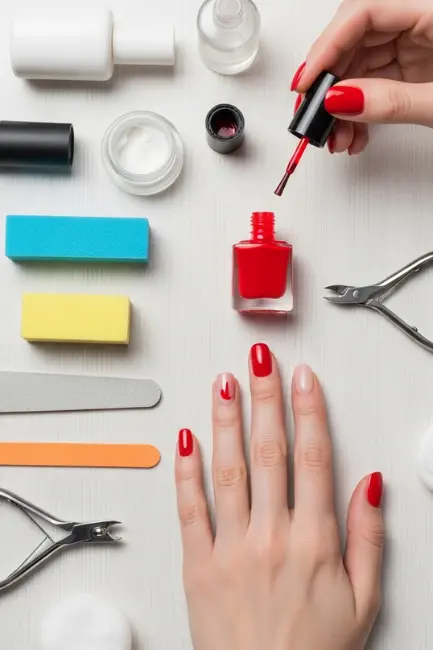
Before you begin, make sure you have everything ready. You’ll need nail charms, nail glue or gel, a tweezer for placement, and a strong top coat. Having your tools nearby ensures a smooth process.
Prep Your Natural Nails
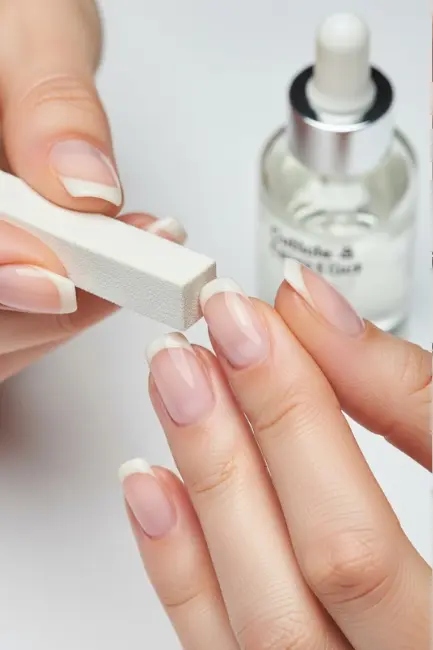
Start with clean and shaped nails. File them to your desired length and gently buff the surface. This helps the charms stick better and ensures your manicure lasts longer.
Choose the Right Charms
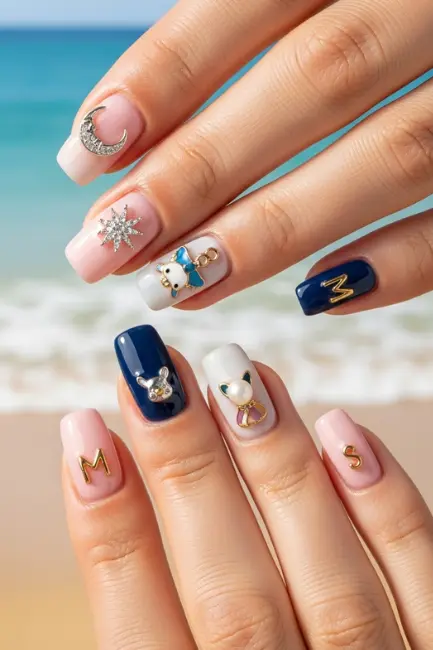
When learning how to apply 3D nail charms, picking the right size is key. Small charms are easier to work with, while larger ones create a bold statement. Match the charm style with your nail length and shape.
Apply a Base Coat
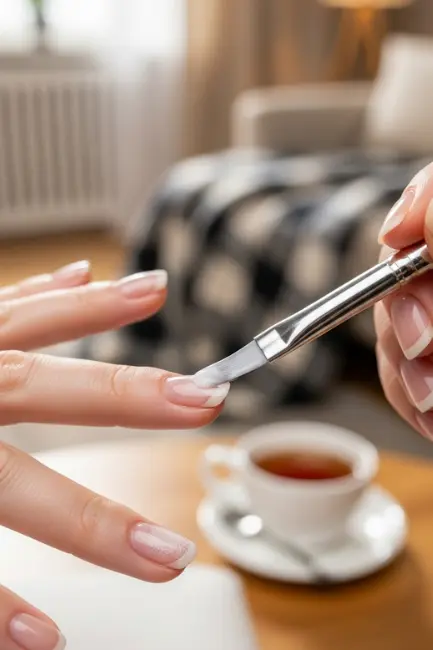
A strong base coat is the foundation of any great manicure. It protects your natural nails and creates a smooth surface for polish and charms. Always let it dry before moving to the next step.
Use Gel Polish for Better Hold
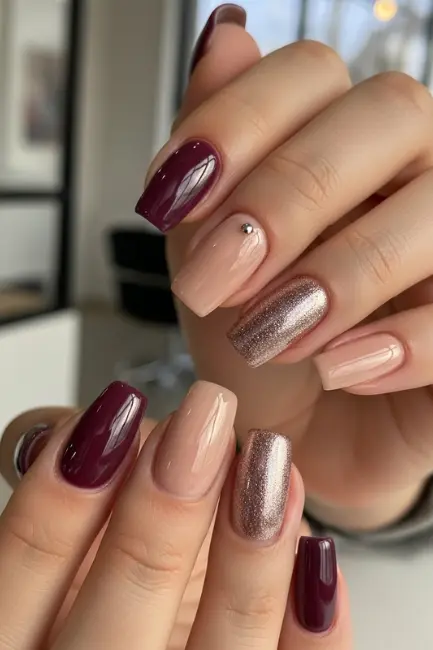
Gel polish works wonders for keeping charms secure. Apply a layer of gel, cure it under a lamp, and then place the charms while the polish is still tacky for maximum grip.
How to Place Charms with Precision
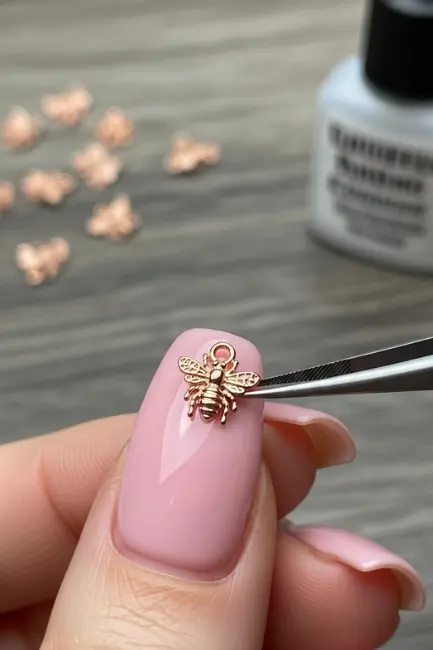
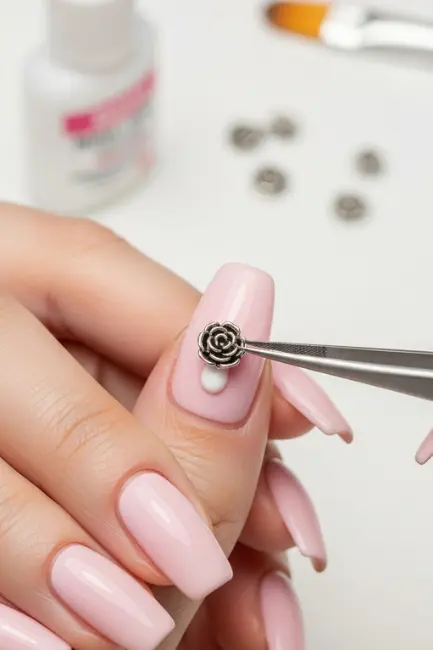
Use tweezers to carefully pick up the charm and place it exactly where you want it. Be gentle and precise, as shifting the charm after it touches the nail can smudge the design.
Secure with Nail Glue

For a stronger hold, apply a tiny dot of nail glue where the charm will sit. This is especially important for heavier charms like pearls or gemstones. Less glue is better to avoid a messy finish.
Press and Hold the Charm in Place
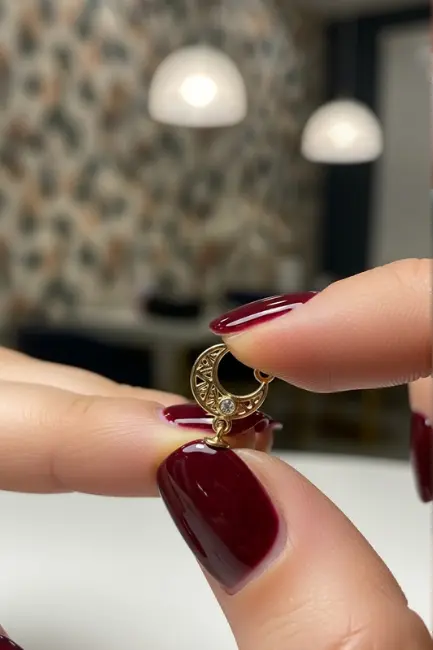
Once applied, press the charm lightly onto the nail for a few seconds. This ensures it bonds properly to the polish or glue, keeping it secure throughout your day.
Seal with a Top Coat
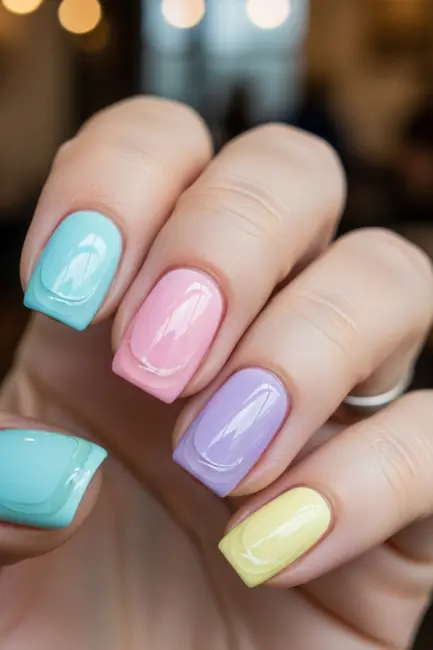
Always finish with a durable top coat. Brush it around the edges of the charm (not over it, if it’s textured) to lock it in place. This step prevents lifting and extends wear time.
Try Accent Nails for Balance
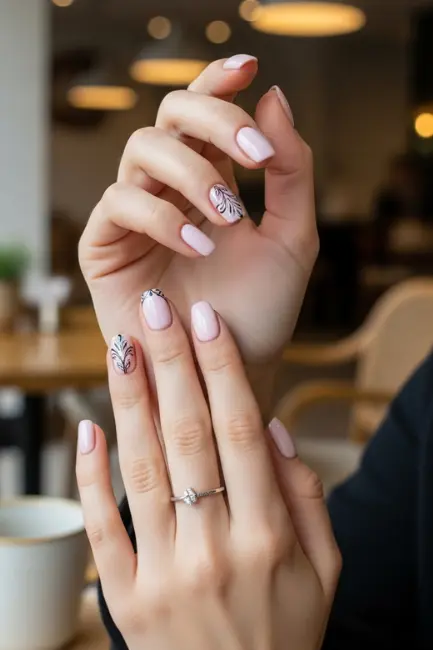
Instead of applying charms to every nail, consider using them on just one or two accent nails. This creates a classy and balanced look without being overwhelming.
Mix Charms with Nail Art
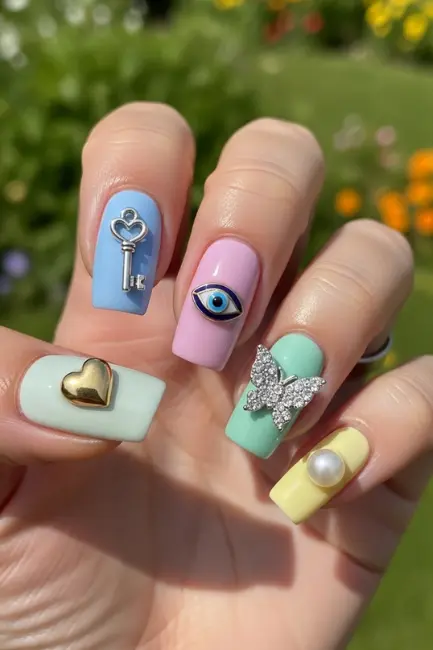
Combine your 3D charms with simple nail art like glitter, ombre, or French tips. This adds depth and creativity to your manicure while still keeping it stylish and wearable.
Removal Without Damage
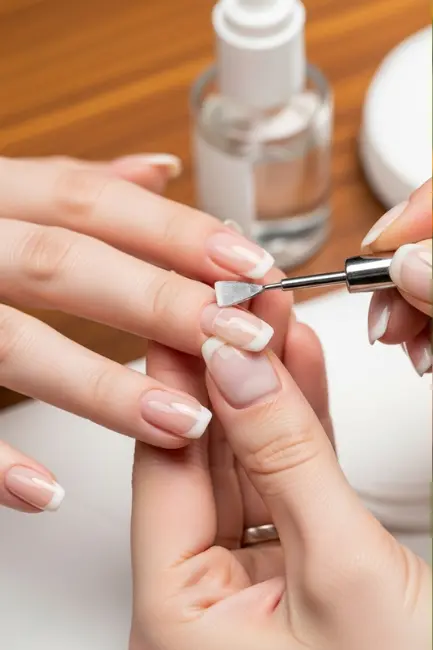
When it’s time to remove your charms, never force them off. Soak your nails in warm acetone or use a gel remover to soften the adhesive. Gently slide them off with an orangewood stick.
Practice for Perfect Results
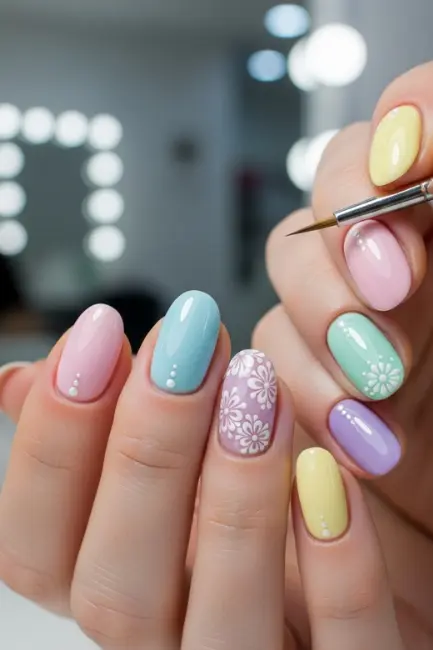
Like any nail technique, learning how to apply 3D nail charms takes practice. The more you experiment with different charms, the easier it becomes to place them neatly and securely. Start with simple designs first, then gradually move on to more complex ones as your skills improve.
Conclusion
Learning how to apply 3D nail charms is a fun way to upgrade your nail game without a salon visit. With the right tools, steady hands, and a few simple steps, you can create stunning manicures that last. Whether you go for dainty pearls, bold bows, or sparkling gems, 3D nail charms let your creativity shine while adding instant glam to your nails.


